Estimated Read Time: 3 minutes
After designing the perfect aviary for your facility, we will fabricate, deliver, and install it for you!
How can you prepare for the installation?
And what does an aviary installation entail?
Read on to find all the information you need!
Preparation for Your Aviary Installation
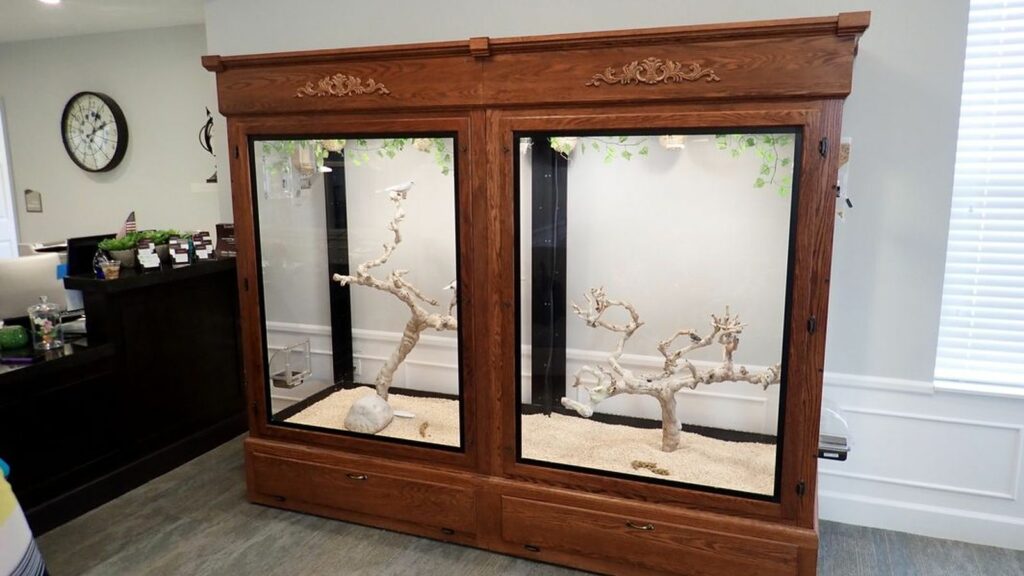
First off, you’ll need to decide on a location for your bird aviary.
Some common places are communal areas, lobbies, and offices, to name a few.
The main requirement is that there’s access to a grounded outlet to plug in the lighting attachments.
A Serenity Aviary becomes the focal point in a room, but make sure yours doesn’t interfere with a heavily trafficked walkway.
You should measure the space you want for your aviary ahead of time.
That way when we arrive, you’ll be ready for us to install it!
Provide Enough Space for Entering the Building
We will have the unit and additional equipment for the installation, so we’ll need adequate space to get through the doors.
Each aviary is a little different in style and size, so not all units are shipped the same.
A double doorway without a center divider will work just fine.
A loading dock with a garage door will work best.
If you don’t have either of these, please reach out to our customer service team.
They’ll help determine the width needed to get the enclosure and equipment inside.
Provide Enough Space for the Installation
We ask that you clear out the space where you want your new enclosure.
This includes furniture, items hanging on the wall, fragile decor, or anything else that could inhibit our ability to install your aviary.
The extra room is needed because of the additional equipment we use to install the aviary.
A majority of these tools will not be present during aviary service visits in the future.
The Aviary Installation Process
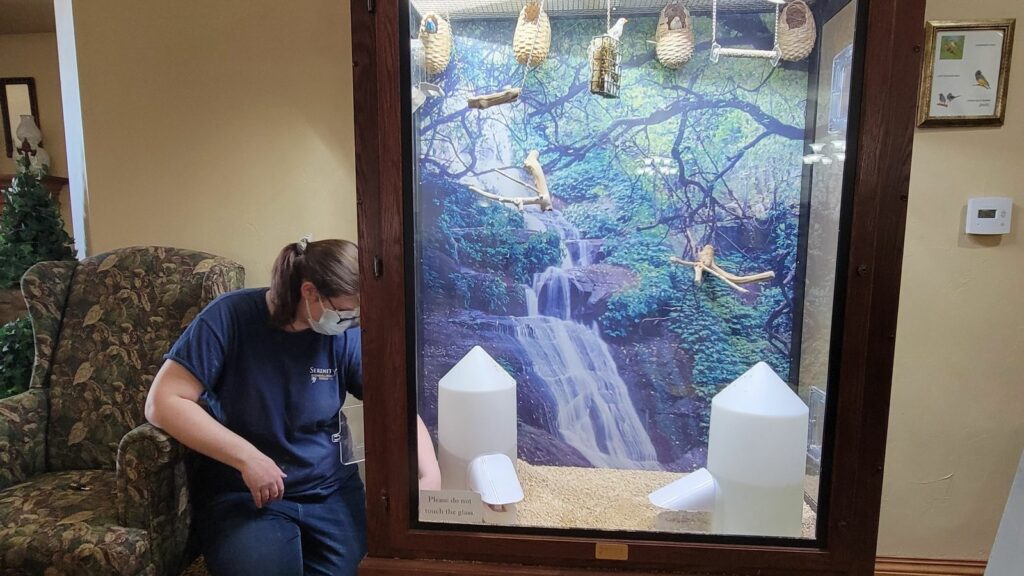
It takes our service techs anywhere between 1 to 2 hours to install an aviary.
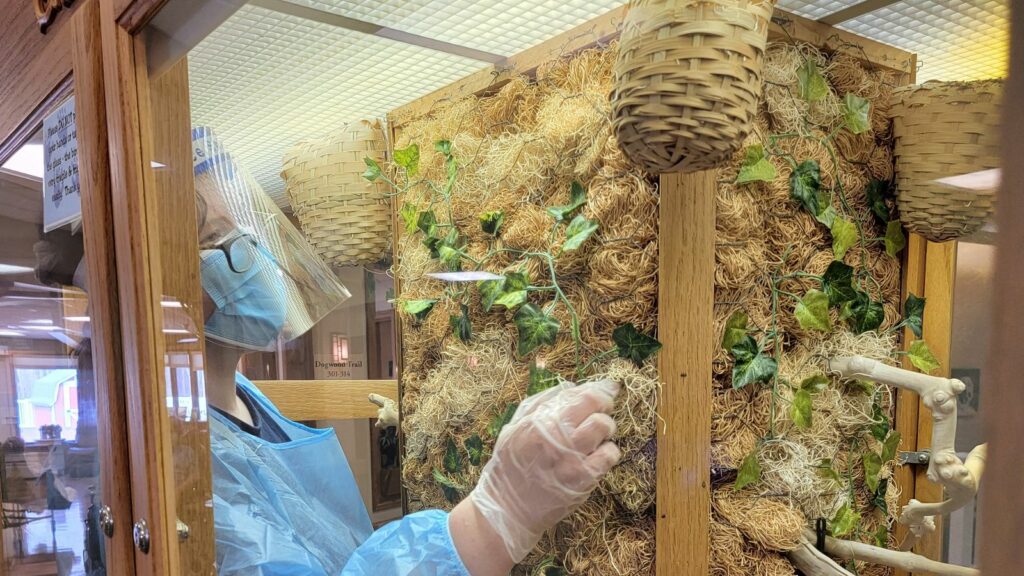
After setting up the bird enclosure, your service tech will also include:
- The appropriate number and species of birds
- Food and water dishes
- Nests, vines, swinging perches
- The appropriate birdseed
- Cuttlebone
- Millet with stems removed and cut in half for your convenience
Following the Installation
Once your aviary is complete, your service tech will discuss important information about the unit, birds, and equipment.
This discussion will cover topics about:
- Care and feeding
- Instructions for cycling the feeder
- The Infinity Feeder
- Millet guidelines
- Breeding Pairs (If requested)
- Specialty birds
- Name a person at the facility for daily maintenance
- Provide a copy of the Serenity Welcome Packet
- Take a photo of the finished aviary
Ongoing Aviary Maintenance
While a vast majority of aviary and bird maintenance is taken care of for you, we ask that you complete a couple of tasks throughout the week.
These brief tasks will ensure that your view of the habitat stays clear:
- Put the cover on the feeder and waterer after about a week of having the aviary
- Clean the front glass by pulling down the supplied shade positioned right above the door
- The shade will keep your birds safely inside
- Use a bird-safe water and vinegar solution to clean the glass
The remaining ongoing maintenance like in-depth cleaning, bird health checks, and food replenishment will be taken care of by your service tech.
With our Infinity Feeder, you can be confident that your birds will be well-fed and watered until our first aviary cleaning visit!